Categories Home Maintenance, Painting homes

The Most Common Painting Mistakes

Let painting companies navigate the risk

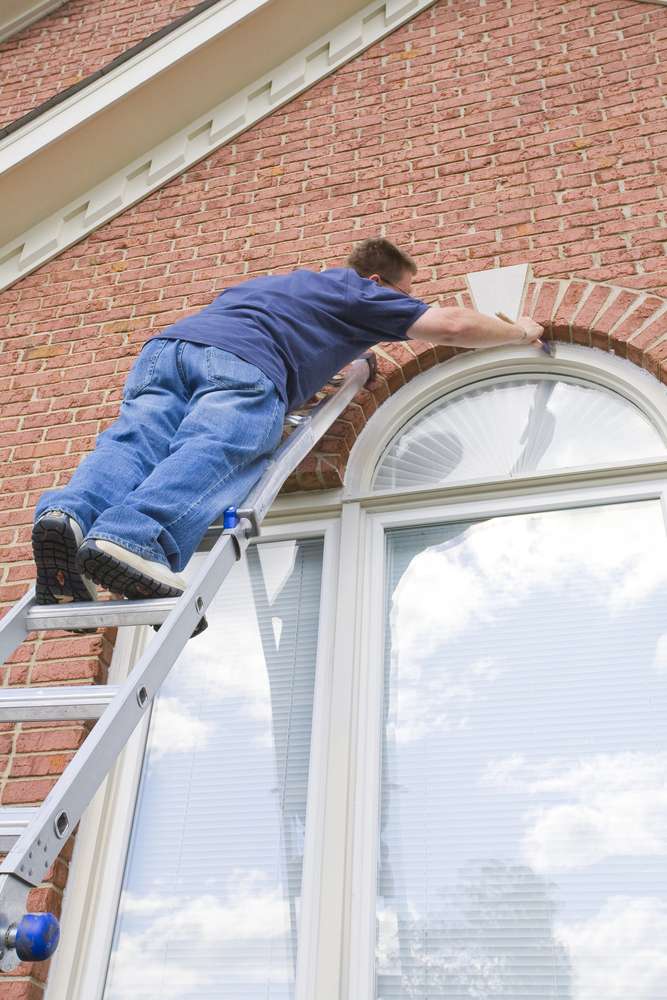
Painting the exterior of your home can be a rewarding project that boosts curb appeal and protects your property from the elements. However, many homeowners make common painting mistakes that can lead to less-than-desirable results. In this article, we’ll explore some of the most prevalent pitfalls that homeowners encounter when painting their home’s exterior.  Also I’ll discuss why it’s often best to leave this task to experienced painting professionals.

Skipping Surface Preparation

One of the most common mistakes homeowners make when painting their home’s exterior is skipping the essential step of surface preparation. Failing to clean, sand, and prime the surfaces before applying paint can result in poor adhesion, flaking, and premature paint failure. Additionally, neglecting to address any existing damage or deterioration, such as rot or mildew, can exacerbate these issues over time. To ensure a long-lasting and professional finish, thorough surface preparation is crucial.

Using Low-Quality Materials

Another frequent mistake is using low-quality paint and materials in an attempt to cut costs. While it may seem like a way to save money in the short term, inferior paints and tools can lead to unsatisfactory results and the need for more frequent repainting in the long run. Professional painting contractors have access to high-quality paints and equipment. Their access to these are specifically designed for exterior applications, providing superior coverage, durability, and overall finish.

Ignoring Weather Conditions

Painting the exterior of a home is highly dependent on weather conditions, and failing to take this into account is a common blunder. Applying paint during excessively hot, cold, or humid weather can lead to improper drying, adhesion issues, and overall finish problems. Professional painters are well-versed in optimal painting conditions and will schedule the project accordingly to ensure the best possible outcome.

Overlooking Proper Technique

Many homeowners underestimate the skill and technique required to achieve a professional-grade finish. Inconsistent brush strokes, drips, and splatters are telltale signs of amateur painting. Professional painters have the expertise to apply paint evenly, neatly, and efficiently.  There skills result in a flawless appearance without the imperfections often associated with DIY projects.

Why Trusting Professionals Matters

While painting the exterior of your home may initially seem like a manageable DIY task, enlisting the services of experienced painting professionals offers numerous benefits. Not only do professionals possess the skills and knowledge to execute the project with precision, but they also have access to superior materials, tools, and techniques that can significantly enhance the durability and aesthetic appeal of the finished product.

Moreover, professional painters prioritize safety. What’s more, this ensures that all necessary precautions are taken to protect themselves, your property, and its surroundings during the painting process. This level of care and attention to detail is difficult to replicate with DIY efforts.  Additionally, it contributes to a more seamless and stress-free experience for homeowners.

Conclusion

When it comes to painting the exterior of your home, avoiding common mistakes and achieving a high-quality finish is best left to seasoned professionals. By investing in professional painting services, homeowners can save time and effort, while also gaining peace of mind knowing that their home will be transformed with expertise and precision.

Categories News, Painting Tips

Painting Your Interior Before Moving In

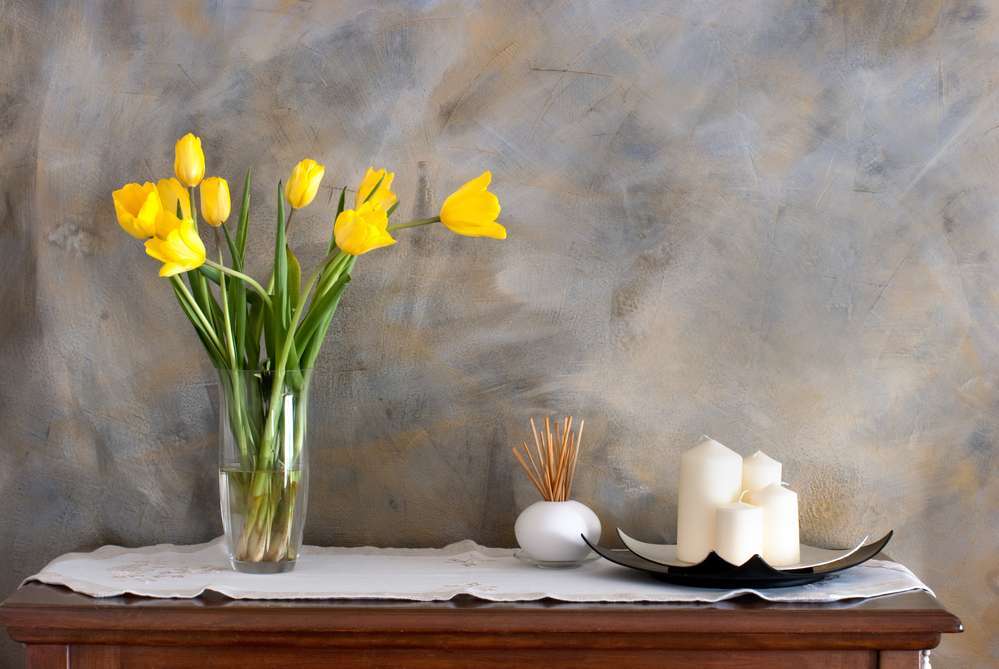
Beautifully painted interior. By Painters Flair home painters near me search term.
Interior painting project details.
Modern interior with dresser. Wall mock up. 3d illustration.

When moving into your home you take a look around and remember all the wonderful reasons why this home is for you. But how about the walls? Are they already painted? Are they the colors you would choose for your home? Maybe they were not painted at all and they are all white. White is not bad, but is it warm, is it cozy, does it make your house feel like a home? If you know right away you want your walls painted then maybe it is best to do it before the Movers bring your furniture.

What you will want to do first is make sure the house has been cleaned, all corners, ceiling, baseboards, walls, windows. If there are any cobwebs or dust you want it removed, otherwise when you paint you will be painting it into the wall. Then you will want to sand out any bumps in the wall and fill in any cracks that may have been left from nails. Next thing you need to know, just as cleaning is easier when you start up and work your way down, so is painting, start up stairs and move your way down stairs. Also, start with the top of the room and work your way down, so you start with the ceiling, then you go to the walls, floorboards, windows, and doors last.

When starting with the ceiling, it is best to first paint where the ceiling and wall meet to outline the room, kind of like what you were taught as a child in a coloring book. Then using extra-long handled paint roller paint the rest of the ceiling in long straight strokes continuing all the way from one side to the other. Once it has dried completely apply a second coat.

Before starting on the walls makes sure the ceiling is 100% dry. It is best to wait at least 24hrs before moving from ceiling to wall. Now, prepare the room, using paint tape cover the edge where the ceiling and wall meet, and cover where the wall and either baseboard or floor meet. Also, do not forget to tape outlets, light switches and windows, unless you plan for all of these to also be the color of the wall it is best to prepare them as well. Now, start with the outline again, paint a strip where the wall and ceiling meet and where the floor and wall meet, repeat with where the windows are. Next using a paint roller, before the outlines dry, paint the walls, one at a time in long up and down strokes being sure not to make the walls look stripy. Once dry apply a second coat.

Painting the baseboards and windows, just like before you want to make sure the walls are completely dry, so this should be done on day three. Place the paint tape on the wall now to be sure the paint on the floorboard or window will not get onto the walls, also, if you plan to paint outlet or light switches this is a good time. Like everything else, do your edges first, and then continue to paint using a paint brush, not roller, once dry apply a second coat and move on to the door. Cover the door knob and paint the door, making sure to cover paint tape on any walls that may be connected to the door to ensure no paint gets on walls. And there you go, in just 3 days you have painted your home!

Toby Begley is a freelance writer currently writing out of Texas for Square Cow Movers. Square Cow Movers is the leader Austin Moving Companies, packing and moving any home providing great customer service with a smile.

BACK TO HOME PAGE AND INTERIOR PAINTING IDEAS


Categories News, Painting Tips

Why Does Paint Bubble, Crack or Peel

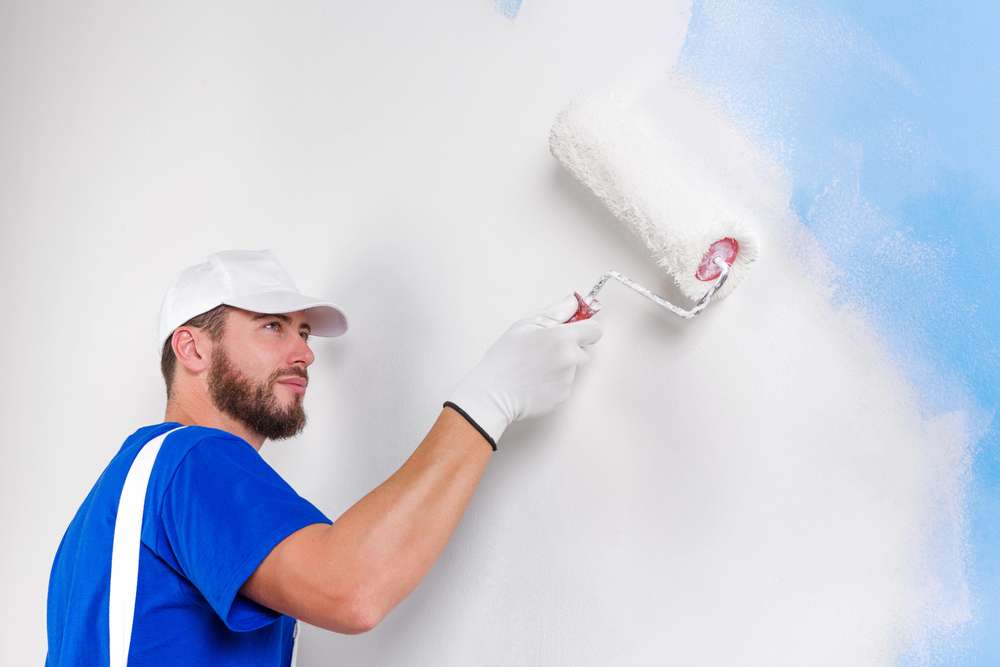
Painting Company, Painters near me

There will be those painting moments when you wondered why you started the project to begin with. Frustration bubbles when you just painted a room and noticed the paint is bubbling. You don’t want to stick with the project when the paint won’t stick either. Problems like these occur with painting contractors as much as they do with first timers caught with the painting bug. The difference is the painters have the know how to deal with these issues and correct them. Listed below are some common mishaps and what to do when they happen.

The paint won’t adhere to the wall:

This is usually due to paint incompatibility. If you apply a latex paint over a previous oil paint application, the paint will not correctly may not adhere. To correct this problem, you could either repaint the area with an oil based paint product. The more time invested corrective procedure would be to remove the old paint by sanding and priming the surface until it is prepped properly for using a water based latex paint.

Blistering:

Typically occurs as a result of moisture, however other causes could be responsible. Such as painting a warm surface, or inadequate surface preparation leaving the paint film to dew (especially in areas of high humidity).  First, remove the source of moisture if possible. You will have to scrape the blisters off, sand the area and then repaint.

Fading:

Sunny exposures may cause premature fading of paint. The typical causes of  this problem is using the wrong paint or paint mixture. Using a lower quality paint, over tinting or tinting a paint not intended for painting and using an interior paint outside on an exterior wall. It can also be the result of chalking. Make certain the paint you purchase is meant for the purpose you intend to use it for.

Picking poor quality paint can also result in loss of gloss retention. Good quality acrylic latex paints has a binder in it which is resistant to UV radiation, while other paints such as alkyd or oil paints absorb and breakdown.

Lapping:

You have painted your room and notice the separation of roller strokes, looking like you just painted. Gives the appearance of overlap, one wet layer overlaps with a dry layer. The only reason for this is not maintaining a wet edge while applying in the unpainted area and rolling back into the newly painted space.  Always brush from wet-to-dry to achieve the uniform color and appearance.

These are the most common problems in painting and easy to fix. More extensive problems, like wood rot, consult your painting company for professional solutions.

Categories Ideas For Interior Painting, News, Painting Ideas

Painting Interior And Unifying Colors

Planning Interior Painting.
Interior Painting Ideas to Improve Unity of Color
By Nicky Taylor
Expert Author Nicky Taylor

I am often asked by homeowners planning interior painting for their home, if it is correct to paint the trim in a particular room a different color than the trim in the rest of their home. Many times the issue arises when they are planning a particular color, on account of a color they have seen in a magazine or while visiting a friends home. Maybe they’re trying to match colors in a particular fabric they are planning to use in that room. Anyway, the problem arises with what to do with the trim for that room. How do you work it into the existing color scheme of your home?

While there is no absolute rule about trim color, that if broken, would cause you to be arrested by the color scheme patrol, there are some things you should consider.

1. The trim and ceilings of your home are what establishes a unified look and feel throughout your home. You can change your walls to any color that you like, or that fits with the theme you have planned for the interior of your home. The use of one color on the trim and ceilings will give you a smooth transition between wall colors as you travel throughout your home. Without this consistency, your home takes on a feeling of disunity.

2. White trim and some off-white colors will go with any wall color. That is why it is so popular. It gives you much greater flexibility in interior color coordination and design. Deciding to paint your trim a color other than white will limit your decorating options; however, I have seen some marvelous color co ordinations while using more color for trim.

If you really want to change the color of the trim for a particular room, then test the color. Try to get a feel for how it will impact the rooms or halls adjacent to that room. Will it be completely separated by a door? Will the door be closed most of the time? If the room is open to other areas of the house that are easily seen, how will that impact the color theme for the other parts of your home?

You don’t want to put a lot of time and effort into painting a room if in the long run you’re not happy with how it makes the rest of your home look. Test the color on a door jamb or baseboard and then stand back and get a feel for what it does for unity of passage from other rooms to that room. It would be a good idea to wait a few days to see if you grow tired of the transition between colors. Often what we initially think looks good, loses its appeal over time.

Nicky Taylor CEO of Painters Flair And Our Painter Services

Categories Exterior Painting, News, Painting Tips

Exterior Painting – Prepping Your Home Before Painting

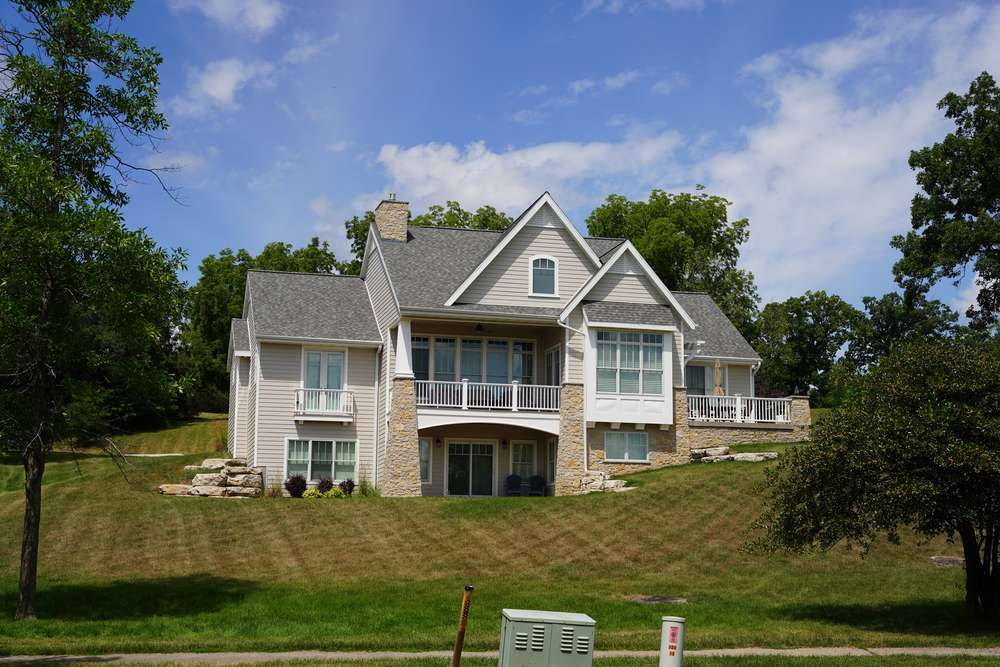
Exterior painting service and painters Marietta Ga

 The secret to a good paint job is to put effort into quality surface preparation. Paint preparation has the same importance as Painting itself. Correctly prepared painting surfaces take paint better, allowing it to completely adhere to a solid base, have a more beautiful, long-lasting finish. Preparation can be boring and consumes a lot of time but when you aim for the best, then you must undergo these processes.

Preparation is systematic. It should flow chronologically in order not to compromise other steps involved.

Cleaning

The outside of the house must be cleaned thoroughly as the paint won’t stick to dirt, grease, grime, or dust. The tool of choice is a pressure washer that develops between 2500 and 3500 pounds per square inch of pressure. However, using this machine requires experience, if not used properly it can damage your exterior walls. Just do not point the pressure washer wand upward on shingled or lap siding. If you point the wand upward, you run the risk of filling the inside of the walls with water.  Don’t get to close to the surface of the siding either or you will gouge a hole in it.

If the house is peeling in areas, try to remove the peeling paint with the pressure washer. Be careful not to gouge the surface. If you don’t have access to a pressure washer then use a brush attachment to your hose which often comes with a reservoir of liquid soap below.

If this tool isn’t available, then you can wash it by climbing a ladder with a rag or sponge. If the siding has a minor discoloration, molds or mildew, use an anti-fungal cleaner to get rid of it. After cleaning, be sure to forget to rinse the house. Clean from top-to-bottom.

Drying

Once the house has been thoroughly cleaned, then allow it to dry. This factor is important because if the wall is not thoroughly dry, paint could peel prematurely and eventually the whole process would fail. If you plan to paint latex, wait one day. If oil-based paint is your plan, then wait 3 days. If you have used a power washer to clean the blistered paint, then you need to extend the time allowance for drying some.

Surface Preparation

Although removing the blistered paint is also important in the cleaning process, you will need to use a paint scrapper, putty knife or a wire brush to remove that will not come off with the pressure washer.

Check and address your siding and trim for any nail holes or cracks. Trim  blemishes can be easily filled with all purpose Bondo. This works well on smaller gouges or decaying areas, but trim with larger areas of rot should really be replaced to avoid trouble in the future. After they dry, use sandpaper to smooth and level the Bondo surface.

Covering Surfaces

Mask or cover areas where you don’t want paint to spill. You should use the blue masking tape along the edge of the trim, door and window frames including the glass doors. Using blue masking tape and paper to wrap all these areas will decrease your work time. Cleanup will be a minimum. A hand held masking machine can make this a little easier.

Place plastic drop cloths over areas where paint may drip, usually on porches, roof sections, sidewalks, or driveways. This will also reduce cleanup time and produce a more professional looking paint job.

Now you are ready to paint. You are confident that the quality of your paint job will look like one being done by a professional. If you hire a professional painting contractor, then make sure that detailed preparation and repairs is included in your contract. Once all steps are followed, you are assured of a beautifully painted home for many years.

Nicky Taylor is president of a house painting  and home improvement company. Nicky is a leader among the painting contractors in the north Atlanta Georgia area. He shares his knowledge on exterior painting and other home improvement topics at the above painting contractor link through articles and resource materials on various topics. The company website contains helpful information for anyone planning home renovation projects.