
When it comes to enhancing the curb appeal of a home, painting companies play a crucial role in transforming a property’s exterior. From choosing the right color schemes to coordinating with homeowners’ associations, these professionals have the expertise to revamp a home’s appearance while considering the overall aesthetics of the neighborhood. In this article, we will explore the many ways in which painting companies can elevate a home’s curb appeal and navigate the considerations associated with subdivisions and homeowners’ associations.
Painting Companies And Enhancing Curb Appeal
Painting companies offer a range of services that can significantly enhance the curb appeal of a home. By leveraging their expertise in color selection, surface preparation, and high-quality finishes, these professionals can breathe new life into a property’s exterior. Here are some key ways in which painting companies contribute to greater curb appeal:
- Color Selection: One of the most impactful ways to enhance curb appeal is through a fresh coat of paint. Painting contractors can provide valuable insights into trending color palettes and timeless choices that complement the architectural style of the home.
- Surface Preparation: Achieving a flawless finish starts with thorough surface preparation. Painting contractors excel in addressing any existing issues such as peeling paint, cracks, or weather damage, ensuring a seamless application.
- Expert Application: With professional techniques and attention to detail, painting companies deliver smooth, even coatings that elevate the overall appearance of the home.
- Enhanced Durability: Utilizing high-quality paints and coatings, painting companies help ensure that the exterior surfaces are not only visually appealing but also well-protected against the elements.
Considerations for Subdivisions
When working within a subdivision, painting companies acknowledge the importance of creating a cohesive yet distinctive look for individual homes. However, when considering the broader neighborhood aesthetic and adhering to homeowners’ association guidelines, they can make tailored recommendations to enhance a home’s exterior.
Tailored Color Recommendations
Painting contractors have the expertise to recommend colors that not only complement the individual home but also stand out within the subdivision. Additionally, by offering a nuanced understanding of color psychology and visual impact, they can suggest palettes that bring a sense of individuality while harmonizing with the overall neighborhood aesthetic.
Homeowners’ Association Guidelines And Painting Companies
Painting contractors play a vital role in navigating homeowners’ association guidelines, ensuring that any proposed color schemes adhere to the established regulations. In fact, by collaborating with homeowners and understanding the specific requirements set forth by the association, painting contractors can help homeowners navigate the process with confidence and compliance.
Conclusion
Painting companies wield the expertise and creative vision to elevate a home’s curb appeal while considering the broader context of subdivisions and homeowners’ associations. Through strategic color selection, impeccable craftsmanship, and an understanding of neighborhood dynamics, they contribute to the cohesive yet distinctive visual landscape of residential communities. By harnessing their skills, homeowners can confidently enhance their properties, leaving a lasting impression on both residents and visitors alike.


 Exterior painting is an essential aspect of maintaining the aesthetic appeal and structural integrity of a home. A fresh coat of paint not only enhances the curb appeal but also protects the exterior surfaces from the elements. However, achieving a flawless and long-lasting paint job requires proper techniques, thorough preplanning, and effective communication between the homeowner and the painting contractor. In this article, we will explore the best exterior painting techniques, what homeowners desire in a paint job, the significance of communication during the painting process, and the importance of preplanning the project.
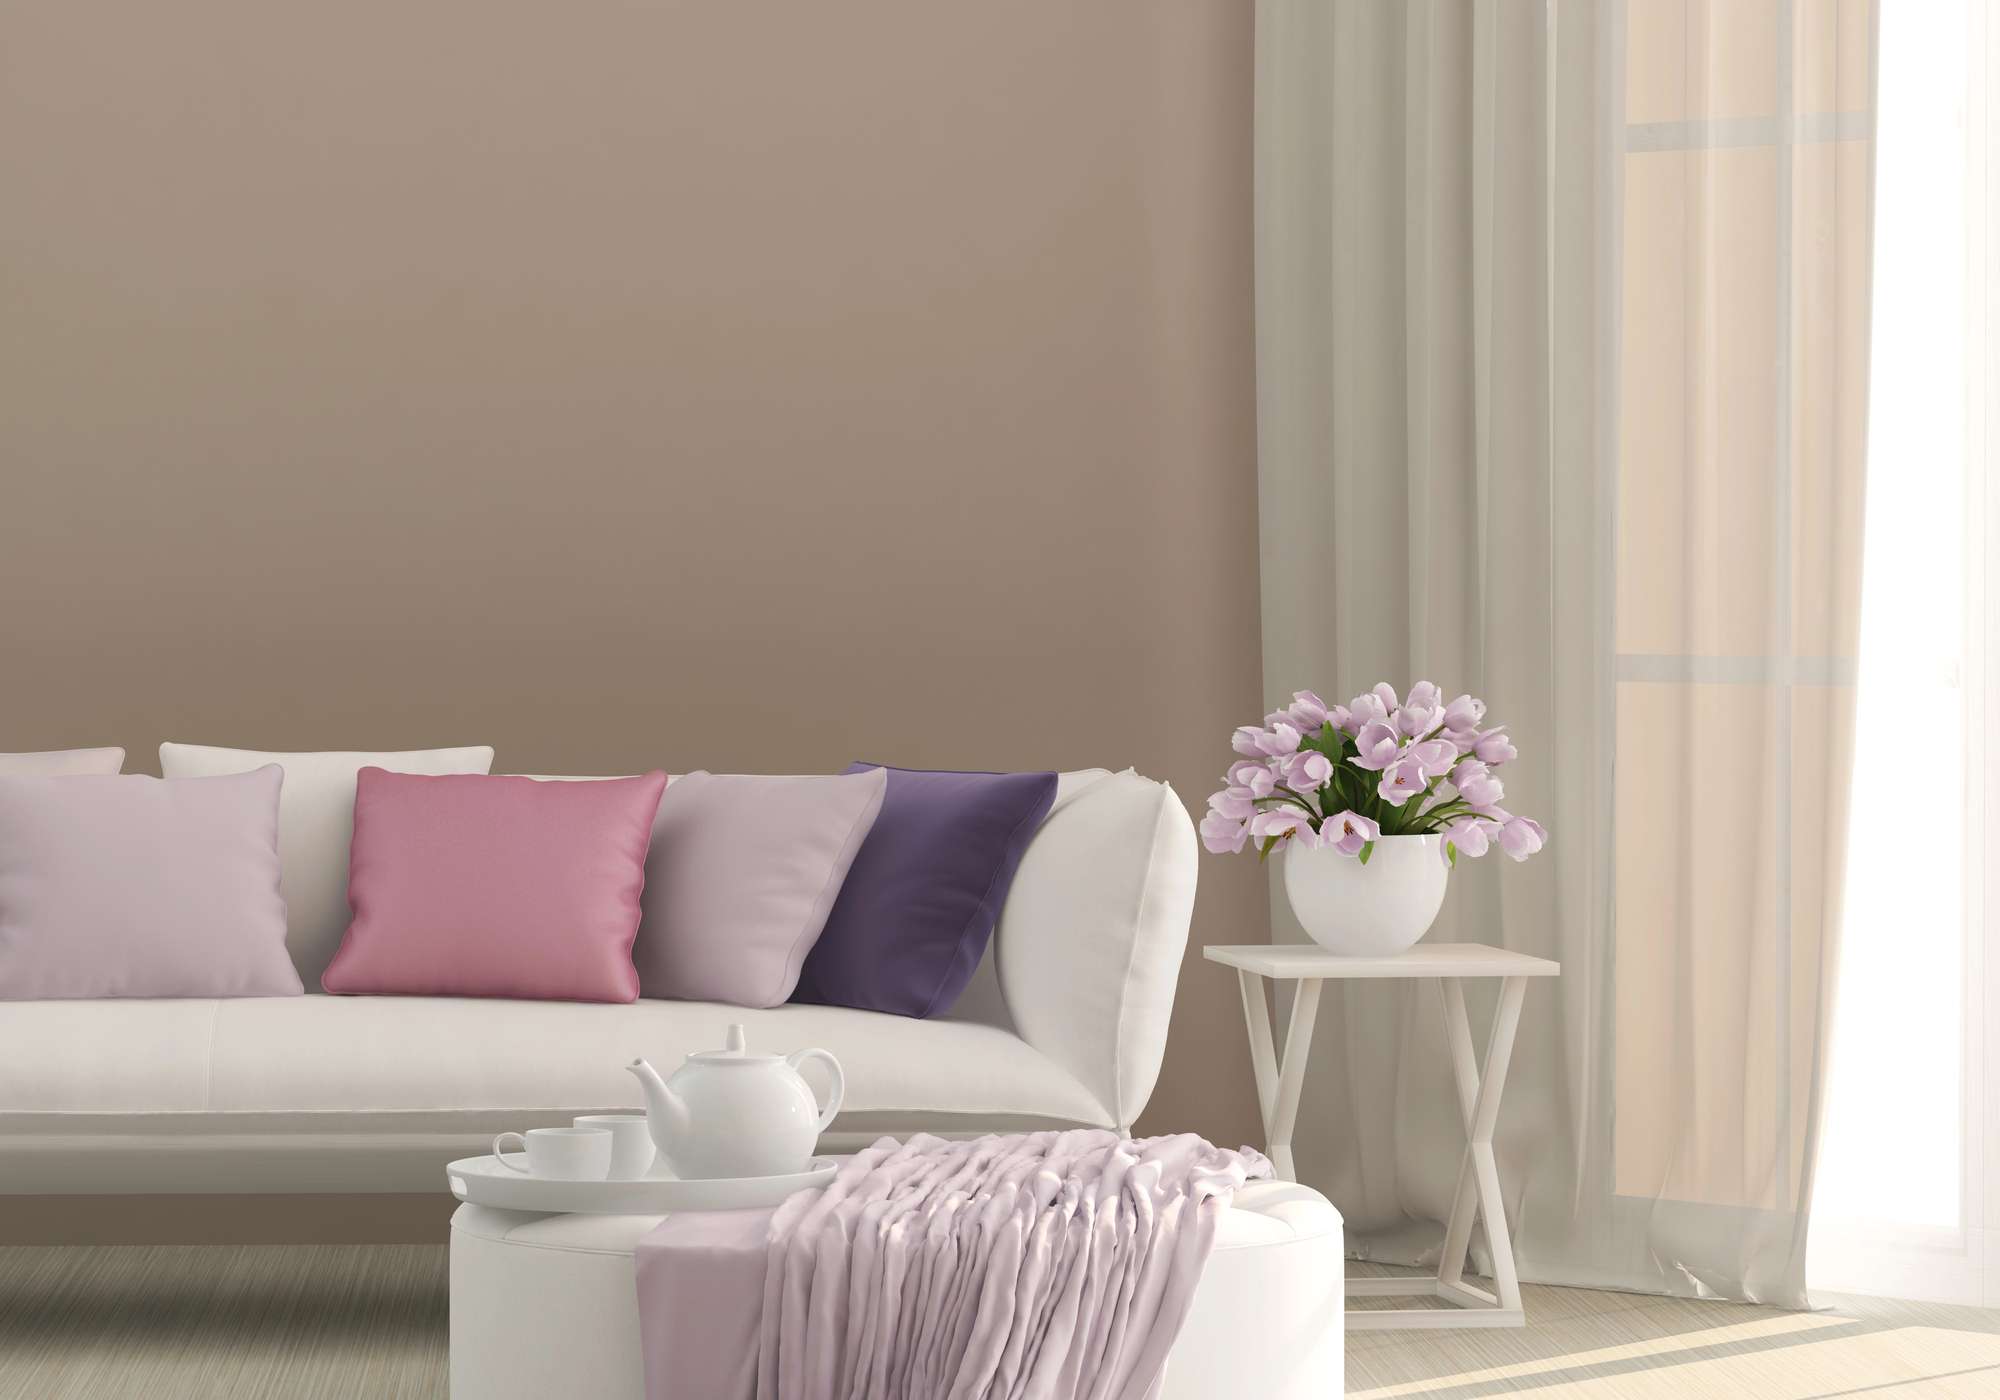 Welcome to our guide on interior painting and the importance of color coordination in your home. We’ll explore the impact of color choices on different personality types, along with tips on coordinating trim color with wall color. Let’s dive in!