The secret to a good paint job is to put effort into quality surface preparation. Paint preparation has the same importance as Painting itself. Correctly prepared painting surfaces take paint better, allowing it to completely adhere to a solid base, have a more beautiful, long-lasting finish. Preparation can be boring and consumes a lot of time but when you aim for the best, then you must undergo these processes.
Preparation is systematic. It should flow chronologically in order not to compromise other steps involved.
Cleaning
The outside of the house must be cleaned thoroughly as the paint won’t stick to dirt, grease, grime, or dust. The tool of choice is a pressure washer that develops between 2500 and 3500 pounds per square inch of pressure. However, using this machine requires experience, if not used properly it can damage your exterior walls. Just do not point the pressure washer wand upward on shingled or lap siding. If you point the wand upward, you run the risk of filling the inside of the walls with water. Don’t get to close to the surface of the siding either or you will gouge a hole in it.
If the house is peeling in areas, try to remove the peeling paint with the pressure washer. Be careful not to gouge the surface. If you don’t have access to a pressure washer then use a brush attachment to your hose which often comes with a reservoir of liquid soap below.
If this tool isn’t available, then you can wash it by climbing a ladder with a rag or sponge. If the siding has a minor discoloration, molds or mildew, use an anti-fungal cleaner to get rid of it. After cleaning, be sure to forget to rinse the house. Clean from top-to-bottom.
Drying
Once the house has been thoroughly cleaned, then allow it to dry. This factor is important because if the wall is not thoroughly dry, paint could peel prematurely and eventually the whole process would fail. If you plan to paint latex, wait one day. If oil-based paint is your plan, then wait 3 days. If you have used a power washer to clean the blistered paint, then you need to extend the time allowance for drying some.
Surface Preparation
Although removing the blistered paint is also important in the cleaning process, you will need to use a paint scrapper, putty knife or a wire brush to remove that will not come off with the pressure washer.
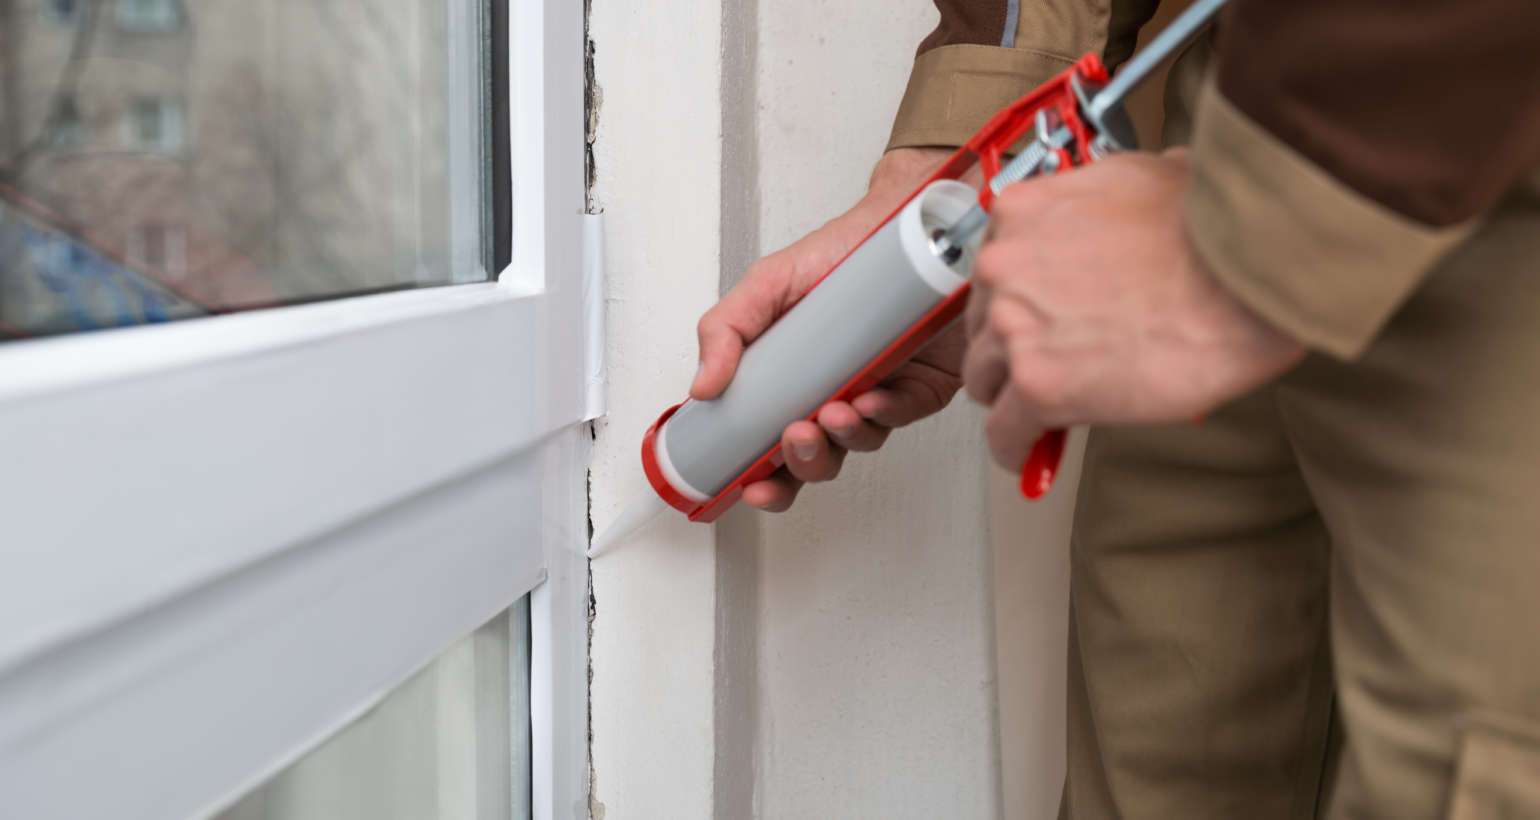
Check and address your siding and trim for any nail holes or cracks. Trim blemishes can be easily filled with all purpose bondo. This works well on smaller gouges or decaying areas, but trim with larger areas of rot should really be replaced to avoid trouble in the future. After they dry, use sandpaper to smooth and level the bondo surface.
Covering Surfaces
Mask or cover areas where you don’t want paint to spill. You should use the blue masking tape along the edge of the trim, door and window frames including the glass doors. Using blue masking tape and paper to wrap all these areas will decrease your work time. Cleanup will be a minimum. A hand held masking machine can make this a little easier.
Place plastic drop cloths over areas where paint may drip, usually on porches, roof sections, sidewalks, or driveways. This will also reduce cleanup time and produce a more professional looking paint job.
Now you are ready to paint. You are confident that the quality of your paint job will look like one being done by a professional. If you hire a professional painting contractor, then make sure that detailed preparation and repairs is included in your contract. Once all steps are followed, you are assured of a beautifully painted home for many years.
Nicky Taylor is president of a house painting and home improvement company. Nicky is a leader among the painting contractors in the north Atlanta Georgia area. He shares his knowledge on exterior painting and other home improvement topics at the above painting contractor link through articles and resource materials on various topics. The company website contains helpful information for anyone planning home renovation projects.


